|
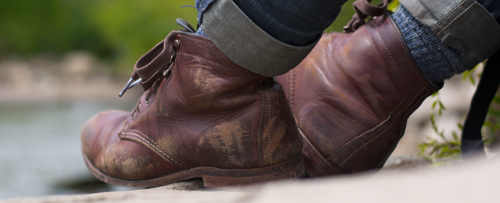
Has your favourite pair of boots become a little too worn to wear? Before throwing your boots away, consider giving them a new lease on life with an easy DIY makeover.
If your boots are still in good working condition but just a little scuffed up, then they can easily be salvaged. A quick trip to an arts and crafts store and you’ll have all of the materials you need for a stylin’ boot makeover. You might even have a lot of the necessary materials lying around the house already!
So, without further ado, here are five boot makeover ideas you may want to try.
1) Glam it up with glitter
To make any older pair of boots shine and sparkle like new again, why not add some actual sparkles in the form of glitter? All you have to do is mix your favourite colour (or colours) glitter together with some clear liquid glue. Then, use a paintbrush to apply the glitter directly onto your boot. This is a fantastic way to cover up some light scuff marks on the toe or the heel.
2) Get colourful with spray paint
Another effective (and fun) way to cover up scuff marks is with spray paint! The most popular colours for DIY boot makeovers tend to be gold and silver, but you can choose whatever colour you like. To get started, just use masking tape to mark off the parts of your boot you want to spray, covering up the rest of the boot with newspaper. In a well-ventilated area, apply the spray paint in at least two coats. Allow the boots to dry overnight and apply a waterproof coating to finish them off.
3) Cut out a cool design
If the fabric of your old boots still has some good structural integrity to it, then you can cut a stylish new design right into them. Don’t use scissors, however, as they aren’t precise enough and will likely leave behind frayed edges. First, you’ll want to draw out your design using a ruler and chalk. Of course, you can definitely free-hand your design if you’re the artistic type. Then, just use a precision knife to get the exact cut you need. Wipe away the chalk when you’re done and take a moment to admire your handiwork.
4) Play with printed fabric
Printed fabric, whether you find some with a nice design in the store or just happen to have some at home, can really transform the look of an old pair of boots. One of the best places to add it is to a boot’s tongue, but feel free to get creative. Just cut out the approximate amount of fabric you need, glue it to your boot, and cut away any excess fabric with a precision knife. Keep the edges of the fabric in place by applying several coats of sealer.
5) Stick on some studs
Instead of glitters, colours, and cute prints, why not go for a more industrial look by adding some studs to your boots instead? All you need is a handful of studs in whatever sizes and styles you prefer, and some super adhesive glue. You can add the studs just about anywhere, such as around the boot opening, on the tongue, or along the edges of the boot’s sole.
Don’t be afraid to try more than one makeover strategy on the same pair of boots. For example, a glitter, spray paint, and stud combo might be perfect for a pair of “night on the town” boots. Let your inner shoe designer loose and send some pics to your friends once you’re all done.
|