|
A birdhouse can attract some of the beautiful neighbourhood birds to your home, and making one yourself can be a fun afternoon project. It’s quick, easy, and requires just a few materials.
Enjoy the sights and sounds of chickadees, woodpeckers, wrens, bluebirds, warblers, and other birds in your yard by putting up a birdhouse. To make one yourself, all you need is one wood board and some tools that you likely already have at home or can easily pick up at the hardware store. Here is a DIY guide for building a simple nest box in just a few steps.

1. Gather your materials
First thing’s first: make sure you have all the necessary materials before you start cutting and building. For this project you will need:
- One wooden plank measuring 2.5 cm thick, 15 cm wide, and at least 150 cm long
- One 0.5″ dowel (for the perch)
- Exterior paint or stain
- Wood glue
- Hand saw
- Sandpaper
- Clamps
- Painter’s tape
- Drill with a 1.5″ and 0.5″ bit
2. Cut the wood pieces to size
Now it’s time to cut the pieces from the birdhouse out of the board. There are six pieces in total: a floor, two roof pieces, a front and back, and two side pieces. Here are the dimensions for each:
- Floor: 14 cm by 22 cm
- First roof piece: 14 cm by 22 cm
- Second roof piece: 12 cm by 22 cm
- Both sides: 11 cm by 14 cm
- Front and back: 14 cm along the bottom, 11 cm along each side, and an angled peak for the roof that measures 7 cm along each side
Cut the dowel to a size of 5 cm as well, and sand down all edges to make them smooth.
3. Drill the entrance and perch holes
Use a drill and a 1.5″ bit to drill a round entrance hole in the centre of the front panel. A hole of this size will allow bluebirds and wrens to enter inside of the nest box. Just underneath, drill the 0.5″ hole for the dowel where birds will be able to perch.
4. Assemble the sides and floor
Use wood glue to attach the back of the birdhouse to the floor. Next, attach the two sides, then finally the front of the house. Use clamps to hold everything firmly together while you wait for the glue to dry.
5. Assemble and install the roof
Take the two roof panels, making sure to glue the edge of the shorter panel to the bottom of the longer one. This will ensure an even overhang on both sides. Use painter’s tape to temporarily hold the pieces together while the glue dries. Next, glue the entire roof onto the rest of the birdhouse and use some more painter’s tape to hold everything together.
6. Paint!
Once the glue is dry, remove the tape and paint the birdhouse in a colour of your choosing. Perhaps you even want to go for a two-toned look and use a different colour for the box and the roof. Let your creativity shine!
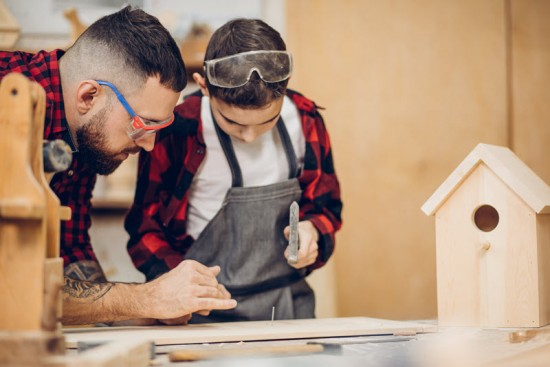
Building a birdhouse is an easy family DIY craft. When it’s done, you get to enjoy seeing birds use it and maybe even make it their home!
|